
Above Fridge Cabinet Organization: A Reach-First Plan
Above fridge cabinet organization works best when you plan how an item will come down, not just where it will fit. The refrigerator pushes you away from the cabinet, the doors reduce the usable opening, and a deep shelf can hide supplies beyond a comfortable reach.
Before buying a bin, check the refrigerator manual, measure the complete removal path and test a container with the items inside it. The goal is a small group of light, occasional-use things that can leave the cabinet in one controlled movement.

Why This Cabinet Is Hard to Use
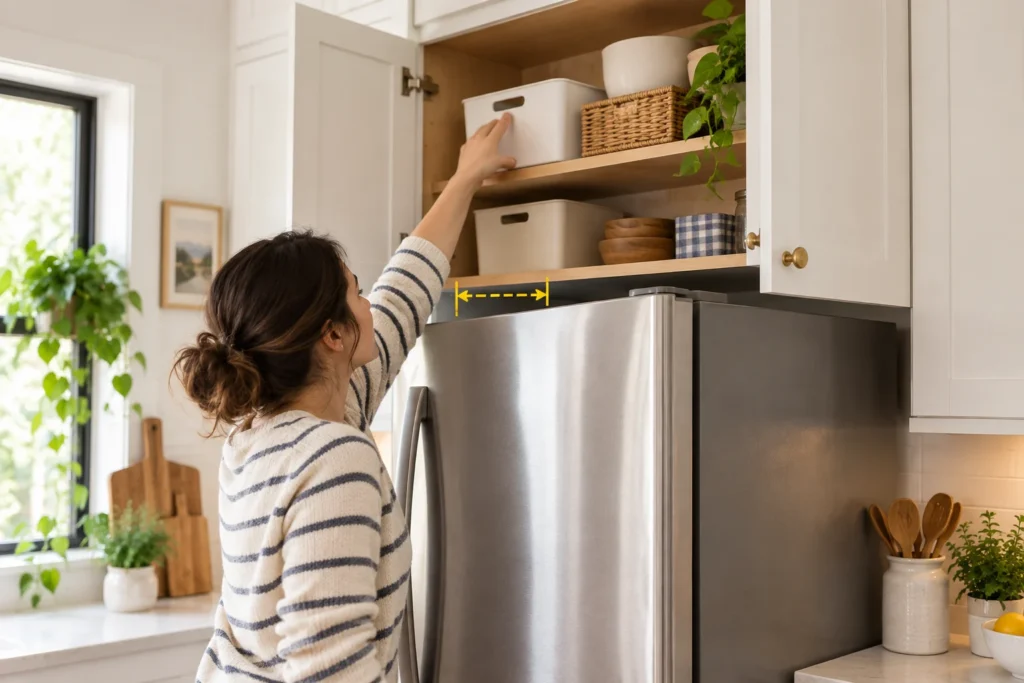
An above-refrigerator cabinet can look roomy while offering very little convenient storage. A standard-depth refrigerator often projects well beyond the cabinet face. That distance becomes a reach setback: you must lean farther forward before your hands even reach the opening.
The cabinet itself may add more restrictions. A face frame narrows the opening, hinges occupy the corners and a center stile can divide one wide interior into two smaller removal paths. If the doors do not open completely, a container that fits the shelf may still catch on the way out.
Treat the space as occasional storage rather than an extension of an everyday drawer. Daily dishes, breakfast ingredients and cooking tools belong where they can be reached without climbing. The cabinet earns its place by holding a limited category that is useful but not needed during an ordinary meal.
Check the Refrigerator Manual First
Find the appliance model number and read its installation or owner manual before placing anything in the gap around it. Refrigerator clearance is model-specific. For example, Whirlpool’s general installation guidance describes a quarter-inch top and side space for certain refrigerators, while other models can require a much larger opening.
Keep bins and loose objects inside the cabinet. Do not rest a tray on top of the refrigerator, bridge a required air gap or cover a grille. Also confirm that the cabinet is fixed securely and that its shelf and pins are in good condition. Organizing cannot correct damaged cabinetry or change the appliance manufacturer’s installation requirements.
If the manual is missing, search the manufacturer’s website with the exact model number. A measurement copied from a different refrigerator is not a reliable substitute.
Measure the Full Retrieval Path
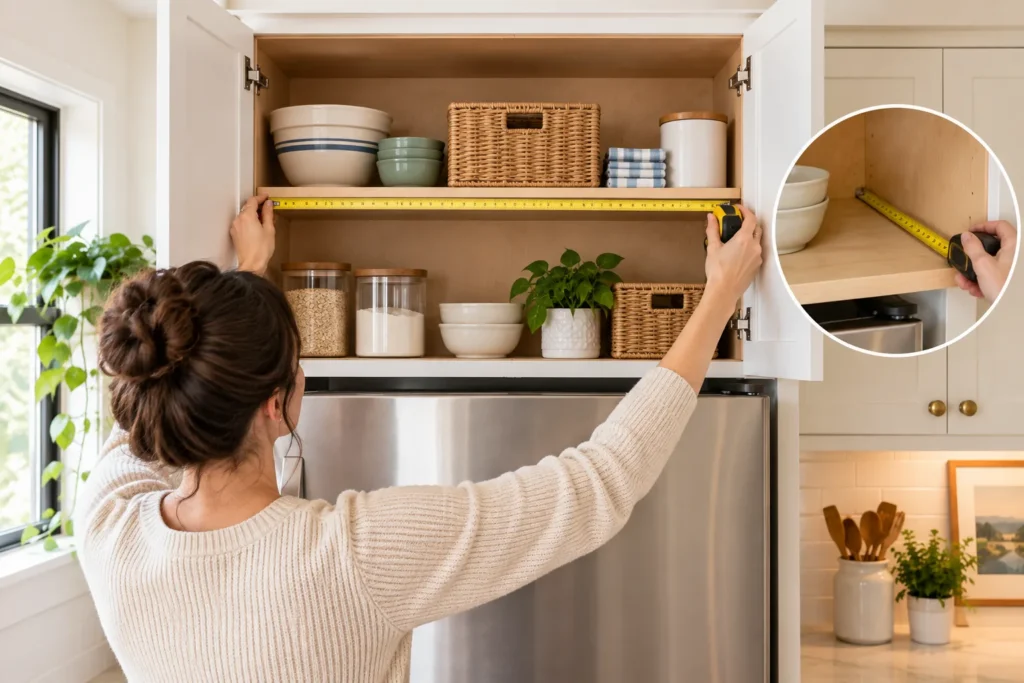
Empty the cabinet and measure in the order an item will travel. Record the numbers instead of relying on the cabinet’s nominal size.
Measure the usable opening
Measure the clear width and height between the face frame, doors and hinges. If there is a center stile, measure each side independently. The smaller opening controls the largest container you can remove.
Measure depth and shelf height
Measure from the inside front edge to the back wall, then record the space above each shelf. Check for shelf pins, door hardware or a lip that reduces the usable area. Repeat the width measurement near the back if the cabinet is not square.
Record the reach setback
Measure from the front of the refrigerator to the cabinet face. This does not determine whether a bin fits, but it explains how far you must reach before lifting it. A shallow cabinet set far behind the refrigerator needs a different solution from a full-depth cabinet whose doors sit near the appliance front.
Follow the door path
Open both doors fully and picture the container moving forward and down. A tall bin may need to tilt under a lift-up door. A wide one may hit a hinge. Leave practical tolerance instead of selecting an organizer that matches the opening to the fraction of an inch.
Test Above Fridge Cabinet Organization With a Box
Turn the measurements into a physical test before spending money. Fold a cardboard box to the outside dimensions of a proposed bin, or choose a shipping box that is slightly smaller than the cabinet opening. Add a temporary handle with strong tape only for the sizing test; it is not a permanent organizer.
Place the empty box on the shelf and remove it through the normal door opening. Watch the front corners, hinge side and bottom edge. If it must twist sharply or scrape the cabinet while empty, the real organizer will be harder to manage.
Next, put a few representative lightweight items in the box and repeat the motion. Do not keep adding things until it feels heavy. The useful capacity is the amount that can be moved comfortably and predictably, not every cubic inch the box can hold.
This test also reveals whether two smaller containers are better than one wide bin. Smaller units can clear divided doors and keep categories separate, but they should sit side by side rather than one behind the other.
Choose What Belongs Above the Refrigerator
Ask four questions about every item: Is it used only occasionally? Is it light enough for the intended user to retrieve comfortably? Is it dry and unlikely to leak? Can it travel down in one controlled container?
Possible categories include paper party supplies, picnic utensils, empty lunch bags, lightweight seasonal linens, an empty cake carrier, spare reusable food containers or non-breakable serving pieces. Pick one or two related categories instead of sending unrelated overflow to the same shelf.
Move heavy appliances, cast iron, liquids, loose glass and stacked ceramics to a lower cabinet. Daily baking sheets and cutting boards also deserve an easier location; use the measured vertical method in our guide to storing baking sheets and cutting boards in a small cabinet.
Food needs more care. The FDA advises keeping nonperishable food in a cool, dry place and away from household cleaning products. Conditions above a refrigerator vary, so non-food storage is the simplest default. If food is considered, follow its label and use the space only when the cabinet remains within the stated storage conditions. For daily groceries, the accessible zones in our small-kitchen plan without a pantry are a better fit.

Match the Organizer to the Cabinet Shape
No organizer type suits every cabinet. Compare the complete outside dimensions with the opening and the box test, then choose the least complicated option that keeps the category together.
| Organizer | Useful when | Main fit check | Limitation |
|---|---|---|---|
| Open handled bin | Several light supplies belong together | The handle clears the opening and stays easy to grip | A large bin is easy to overload |
| Low tray | Long, light items share a low shelf | The tray slides forward without tipping | Loose pieces can shift during removal |
| Vertical divider | A few lightweight flat items are used occasionally | Each item clears the door and upper shelf | Not ideal for heavy stacks |
| Freestanding shelf insert | A short cabinet has unused height | Items on both levels remain retrievable | The upper level may become too high to use |
| No organizer | One bulky, light item fills the space | The object clears the opening in one motion | Small objects should not collect around it |
Clear plastic is optional. Because the cabinet is above eye level, the bottom of a transparent bin may be more visible than its contents. A large front label can be more useful than a clear wall. Check that any handle is part of the bin’s intended lifting design and follow the manufacturer’s load and care instructions.
Set Up One Category per Container
For practical above fridge cabinet organization, give every bin, tray or divider one short category name such as party paper, picnic or extra lunch bags. Put the label on the front where it can be read from below. A category that needs a long inventory list is probably too broad for this cabinet.
Keep containers in a single row. A hidden back bin recreates the original problem because the front container must come down first. When a deep cabinet leaves empty space behind a bin, accept that limit or choose one longer container that brings the entire category forward together.
Avoid stacking loaded bins. Stacking adds another lifting step and encourages the lower container to become permanent storage. If the cabinet has an adjustable shelf, move it only through the shelf system’s existing positions and keep every original part for the rental.
Leave a little open space around each container. That gap is working room for fingers and door hardware, not wasted storage.
Run the Loaded Retrieval Test
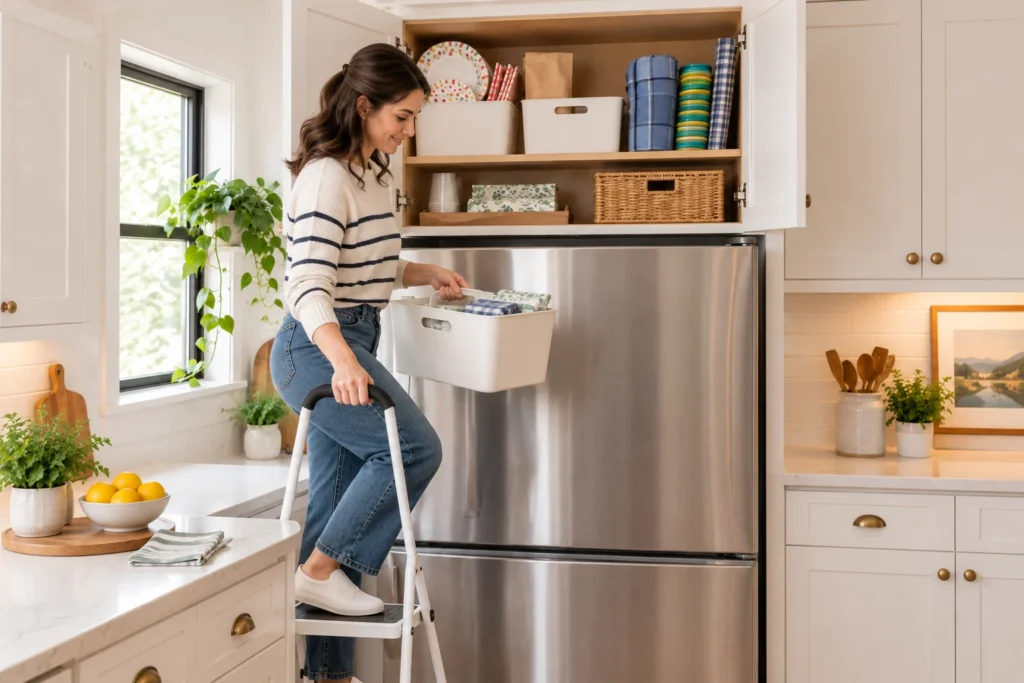
Load the chosen container with the real items and test the complete routine. Set a stable step stool on a flat, dry floor and follow its instructions. The U.S. Consumer Product Safety Commission recommends a stable step stool with a handrail for reaching high items and warns against standing on chairs, boxes or other makeshift supports.
Open the cabinet fully, remove one container and bring it to a counter or table before opening it. Do not sort loose items while balanced on the stool. Return the container by the same path and confirm that the label faces forward and the handle remains clear.
Reduce the load or choose a smaller bin if you must overreach, twist, lift around a door, catch the cabinet frame or hold the container where you cannot see it. A setup that works only when a bin is packed perfectly will become frustrating after normal use.
For renters, keep the solution freestanding. Do not drill the cabinet, alter the refrigerator enclosure or attach hardware without the required permission. The broader renter-friendly small kitchen storage plan can help relocate items that fail this test.
Frequently Asked Questions
What should I store in the cabinet above the refrigerator?
Choose light, occasional-use and reasonably unbreakable items that can come down in one contained group. Paper party supplies, picnic items, empty totes and lightweight seasonal linens are practical candidates.
Can food be stored in a cabinet above the fridge?
Only when the food label permits pantry storage and the cabinet remains cool and dry enough for those directions. Because conditions vary, an accessible cabinet away from appliance heat is usually the simpler place for everyday food.
How do I organize a shallow cabinet behind a deep refrigerator?
Measure the refrigerator-to-cabinet setback and use a low, lightweight container that clears the opening without a sharp tilt. Test its dimensions with a cardboard box first. If retrieval still requires overreaching, use the cabinet for one very light item or leave it empty.
Should heavy appliances go above the refrigerator?
No. A stand mixer, pressure cooker or other heavy appliance is difficult to lower from above shoulder level, especially across the depth of a refrigerator. Store heavy equipment on a lower shelf that supports its weight.
Can I place storage bins directly on top of the refrigerator?
Do not use any area required for ventilation, and do not assume the appliance top is a storage shelf. Follow the exact refrigerator manual. This plan keeps organizers inside an existing cabinet.
What if I cannot comfortably reach the cabinet?
Do not force the space to function. Move necessary items to accessible storage and leave the cabinet empty, or reserve it for a very light item that another household member can retrieve without strain.
Let the Retrieval Path Set the Limit
Reliable above fridge cabinet organization begins with the route between the shelf and the counter. Check the appliance manual, measure the actual opening, test the organizer’s size and keep the load light. When every category comes down in one clear container, the cabinet can support a small kitchen without becoming forgotten overflow.
The cabinet does not need to be completely full. Space around the bin, an unused back corner or even an empty shelf can be the correct result when it makes every stored item easier to retrieve.